Content Update 1
April 21
To start off, I began my visuals following along to this tutorial. I liked the fluidity present in it and wanted to find out how Ben had achieved it. After I followed along I started to change some attributes. The biggest change I did was making it audio-reactive.
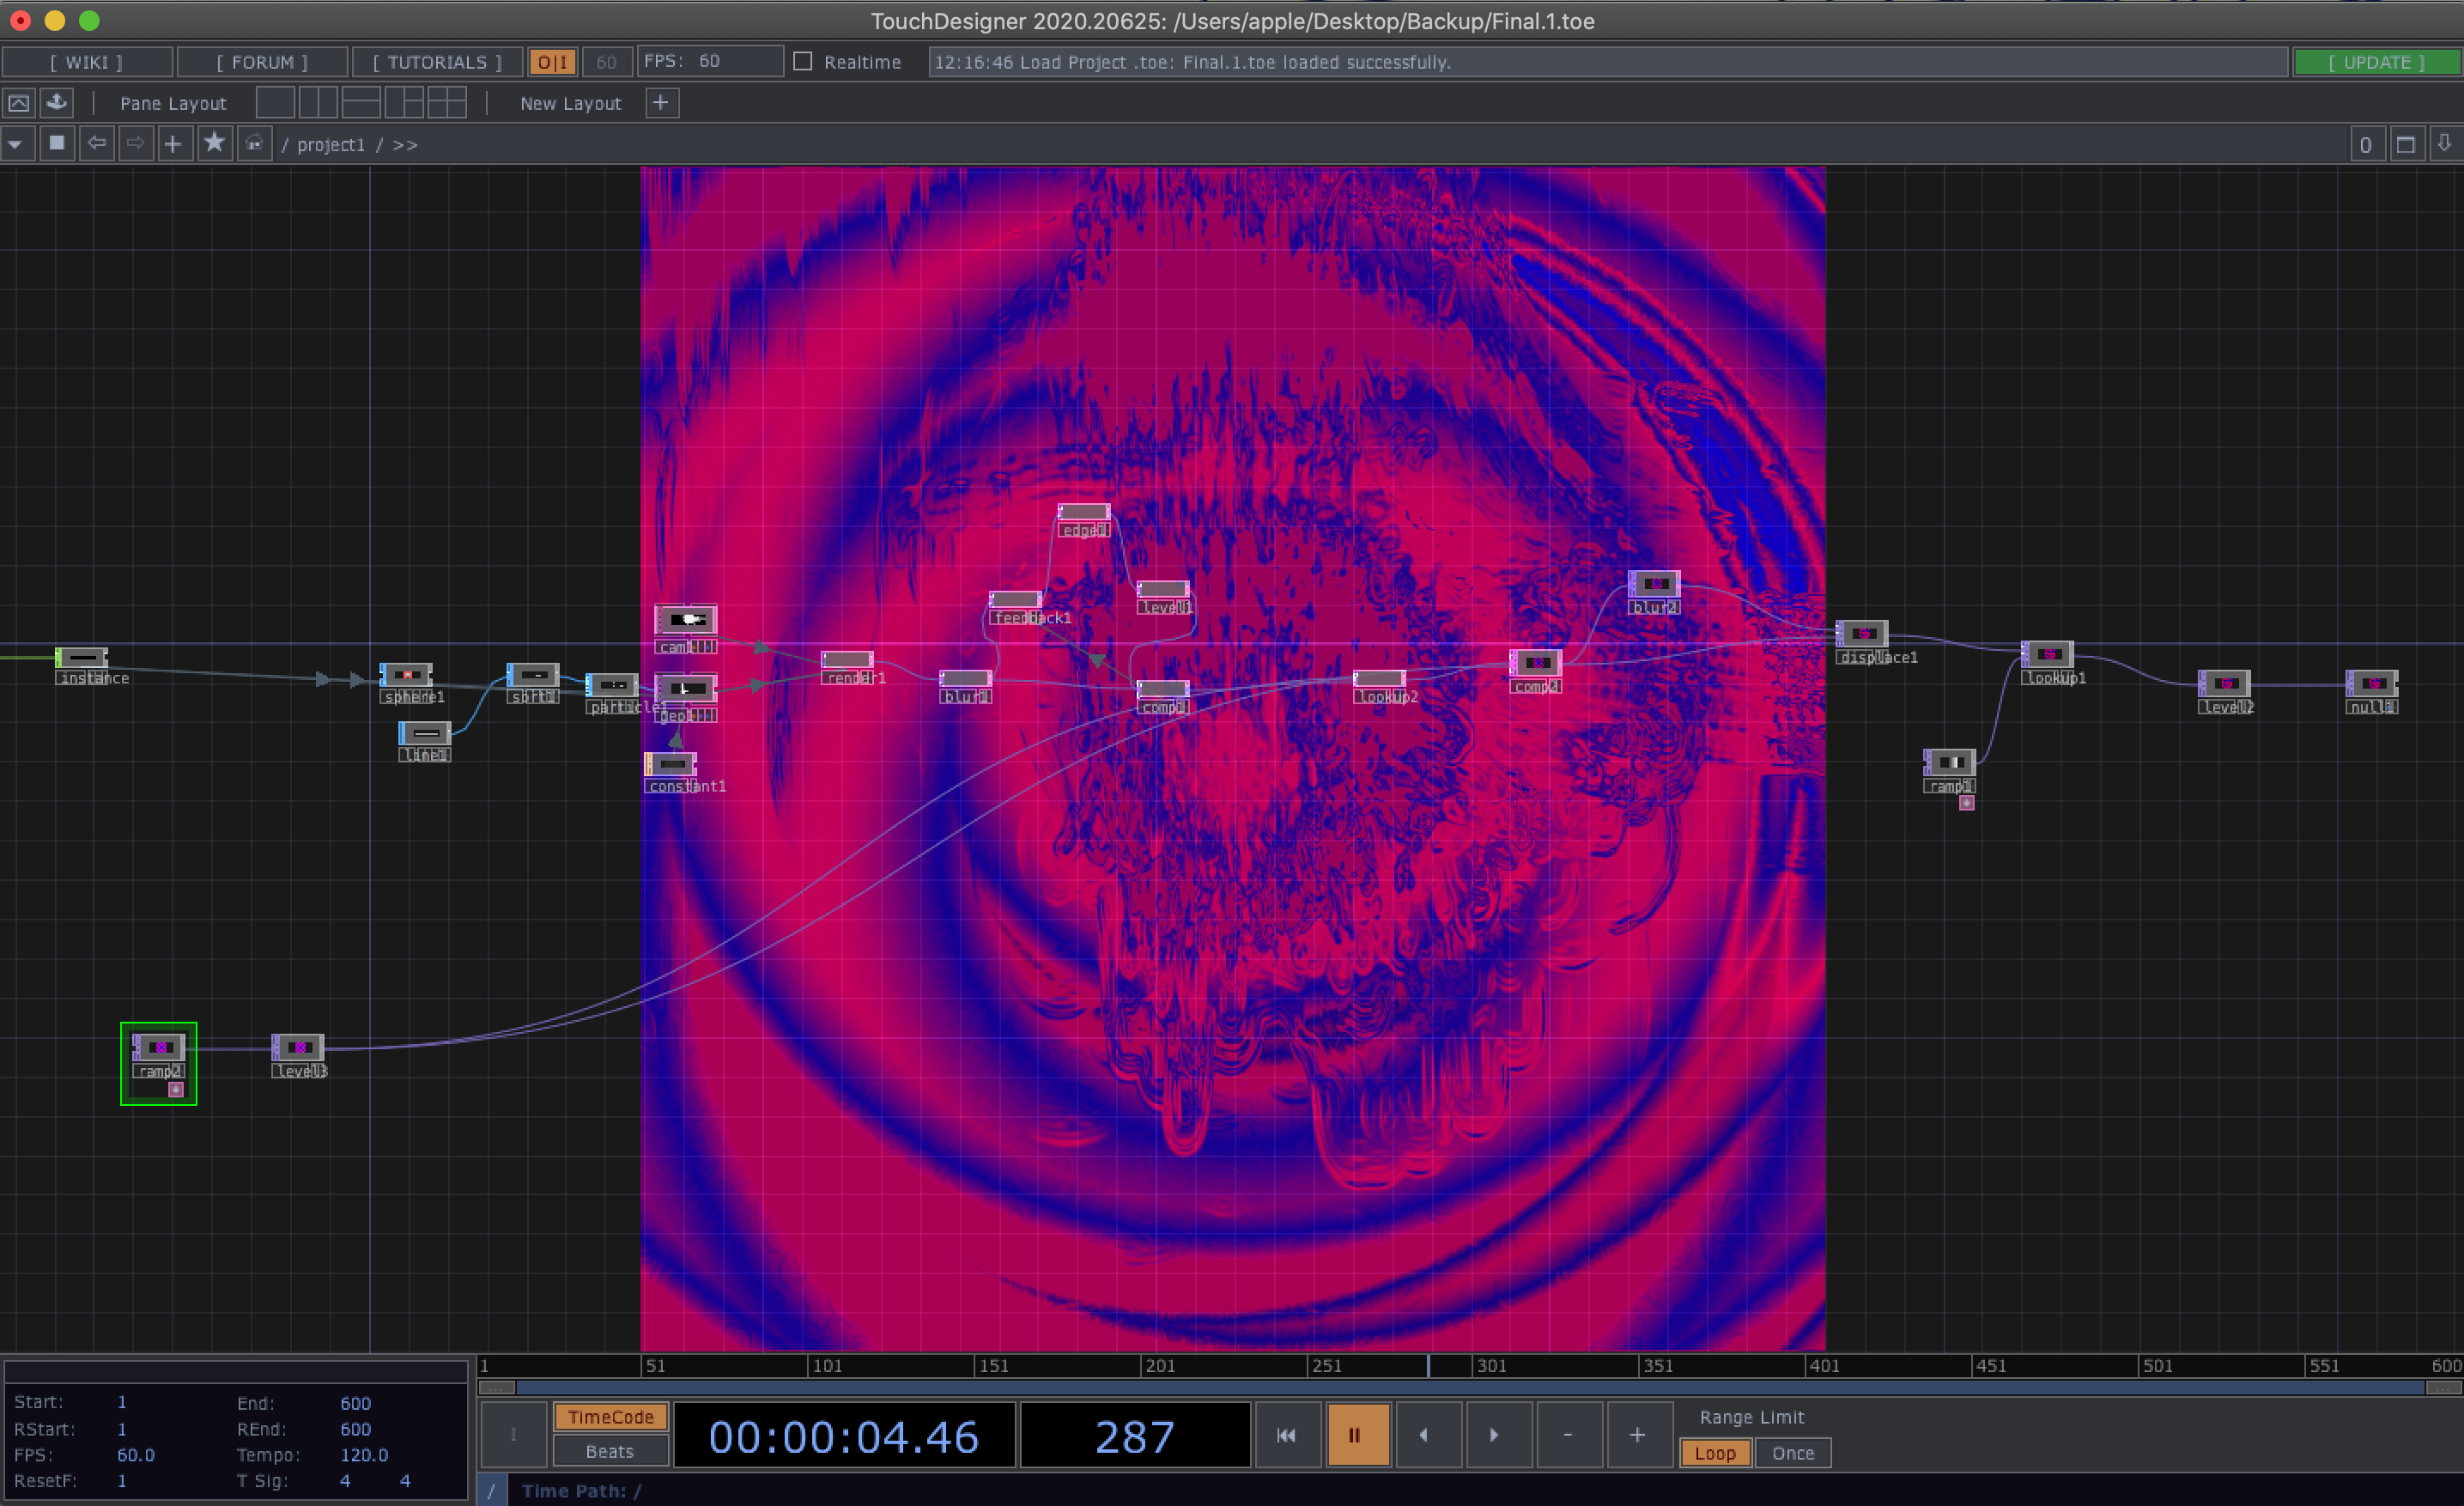

The second picture is the audio aspect I added to it, it came from a previous audio-reactive TouchDesigner I had created. The sound attributes were connected to the Geometry Instancing as well as the particle system that creates the splotches present in the visual.
I ended up with this visual:
Although it turned out to be a cool visual, it was not exactly what I was looking for. I wanted to manipulate the colors more than what is seen above. The aspect I found that I needed to change was the way the color was being fed into the node system. It is inserted via a circular ramp, from there colors are ‘looped’ so they expand in a circular pattern from the center.
April 27
I fiddled with the visual from above for a couple of days, trying to figure out how I could manipulate colors a bit more. What I settled with was with adding a Noise TOP in addition to the Ramp TOP I already had in there to create generative noise.

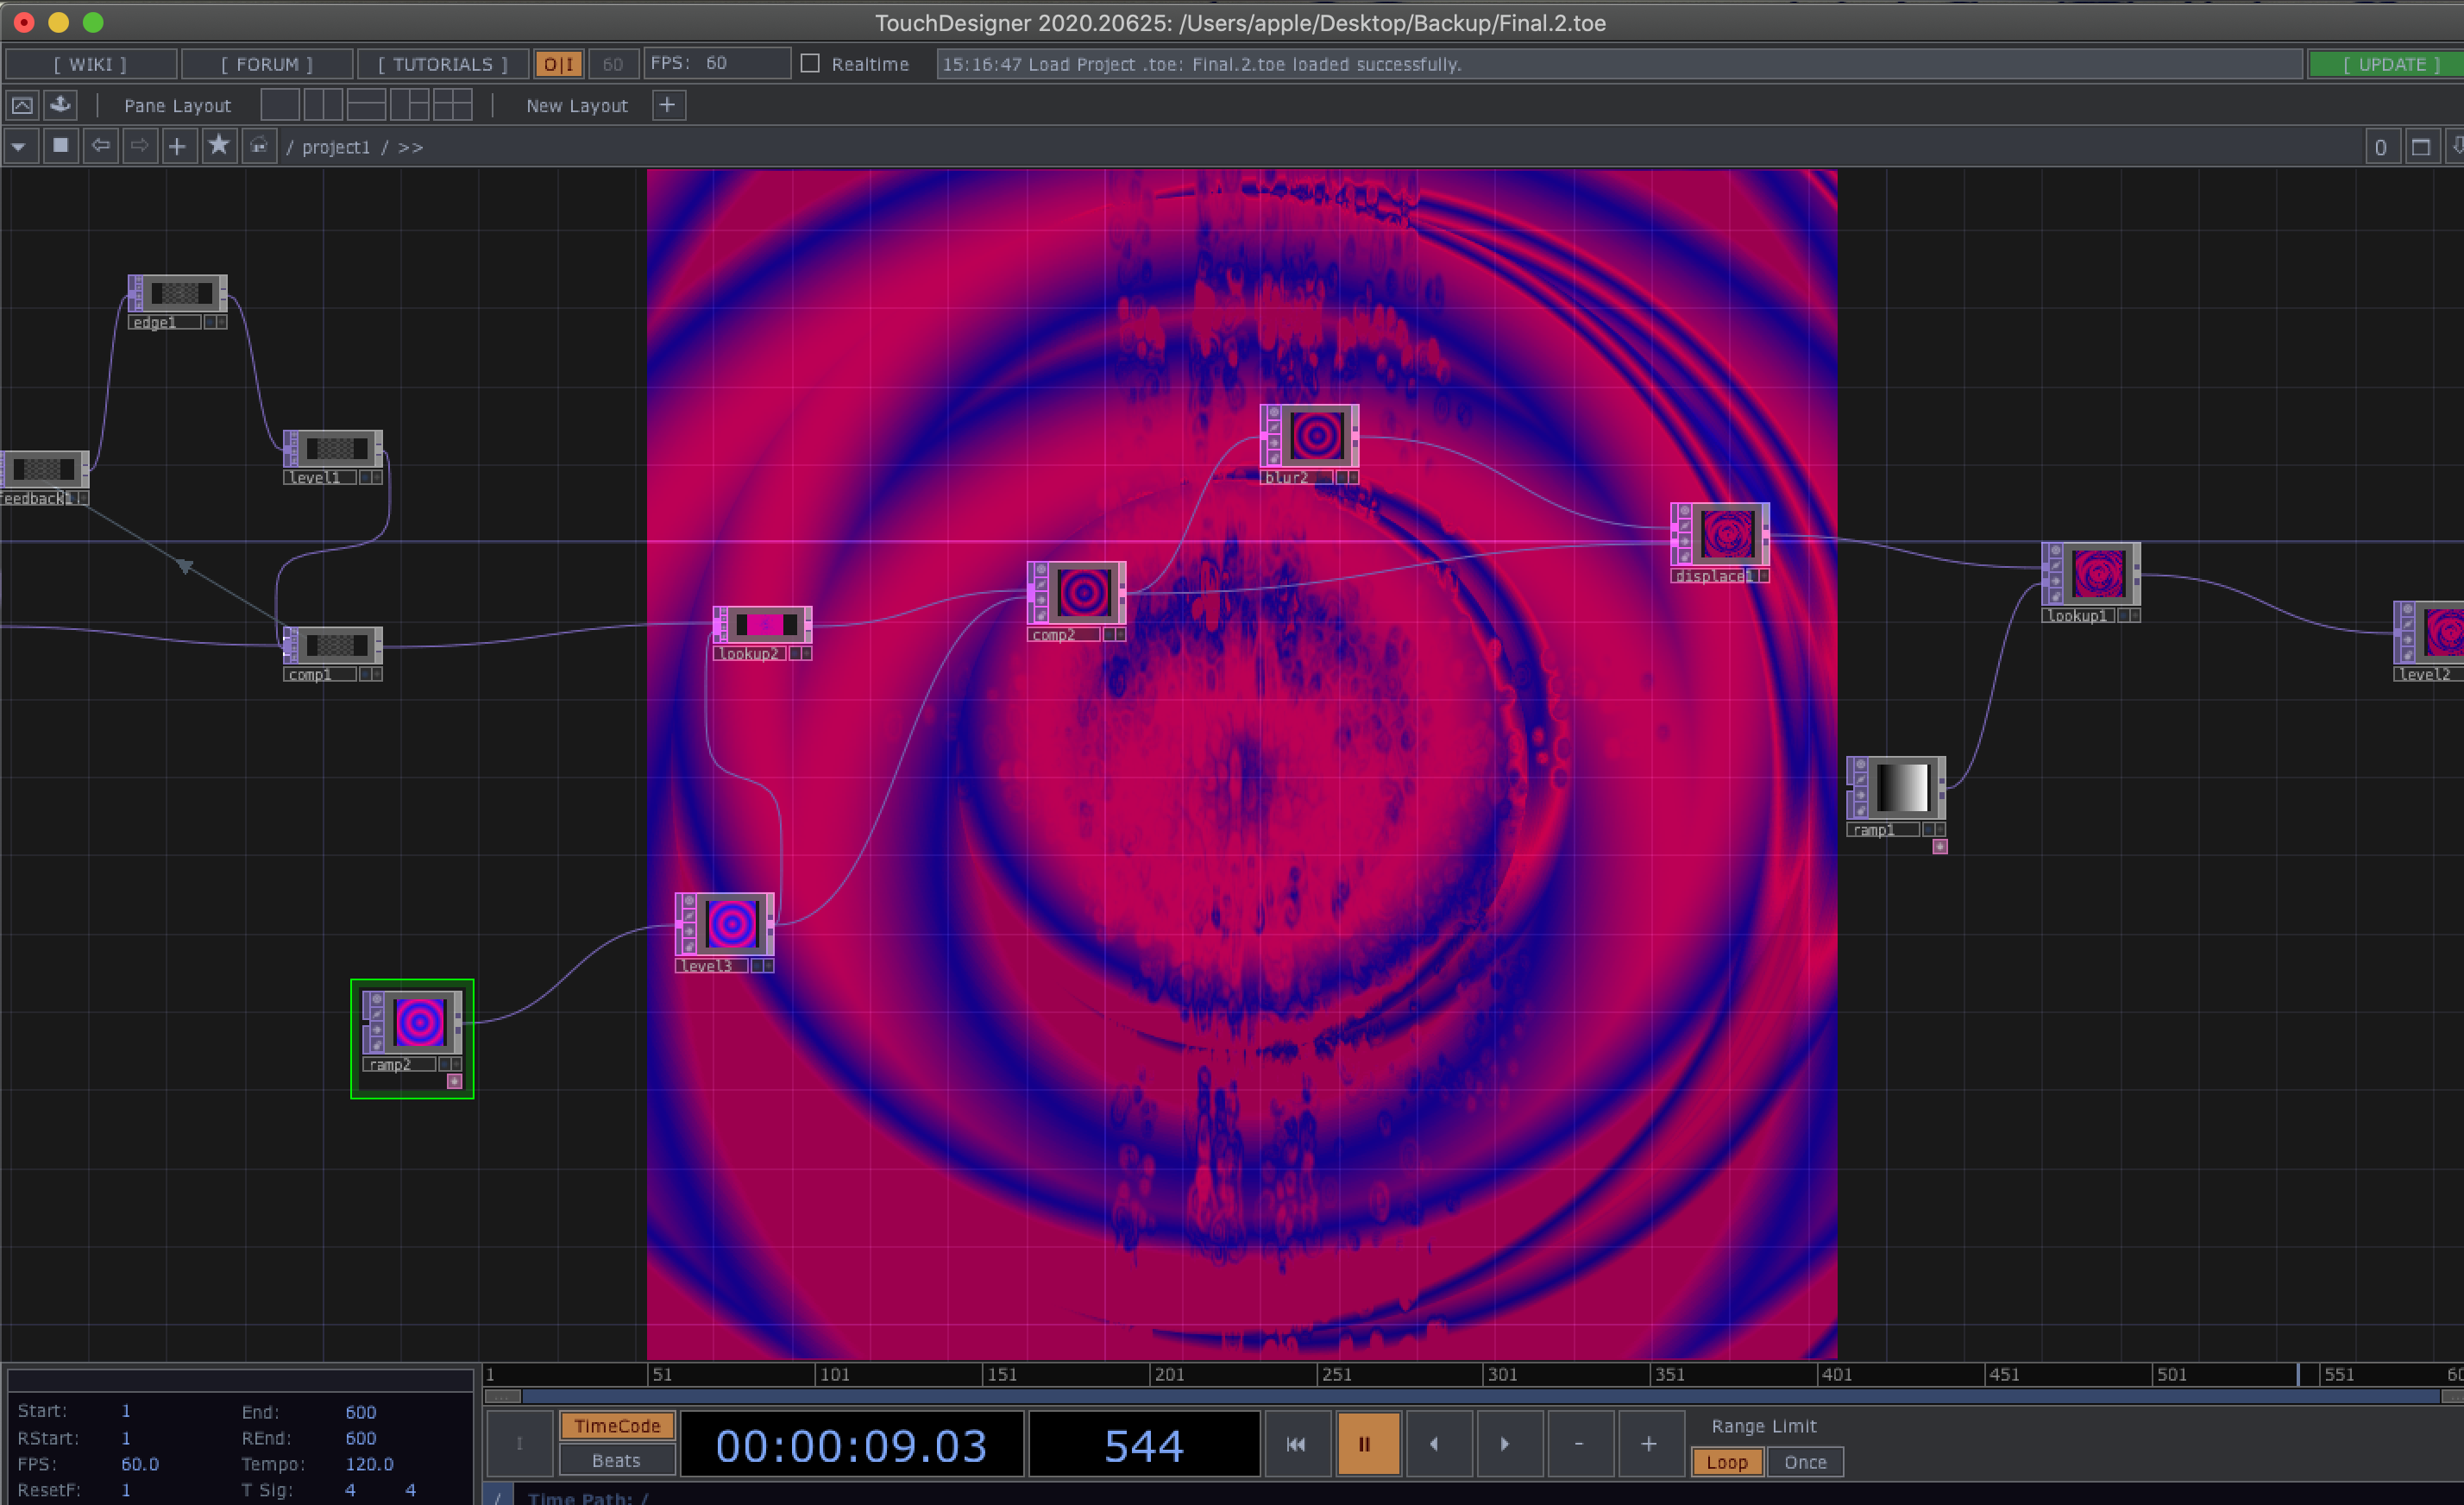
By doing so I was able to come up with this visual:
I liked this one a lot more than the original one but it still was not as audio-reactive as I would have liked it to be but I did not make any changes to the audio aspect of this one. Another big obvious change That I made was switching out the Sphere my Particle SOP was taking in and replacing it with a line.

By doing this it created the wavy Pattern that is disrupting the colors as opposed to the blotches that were present in the first one.
May 3
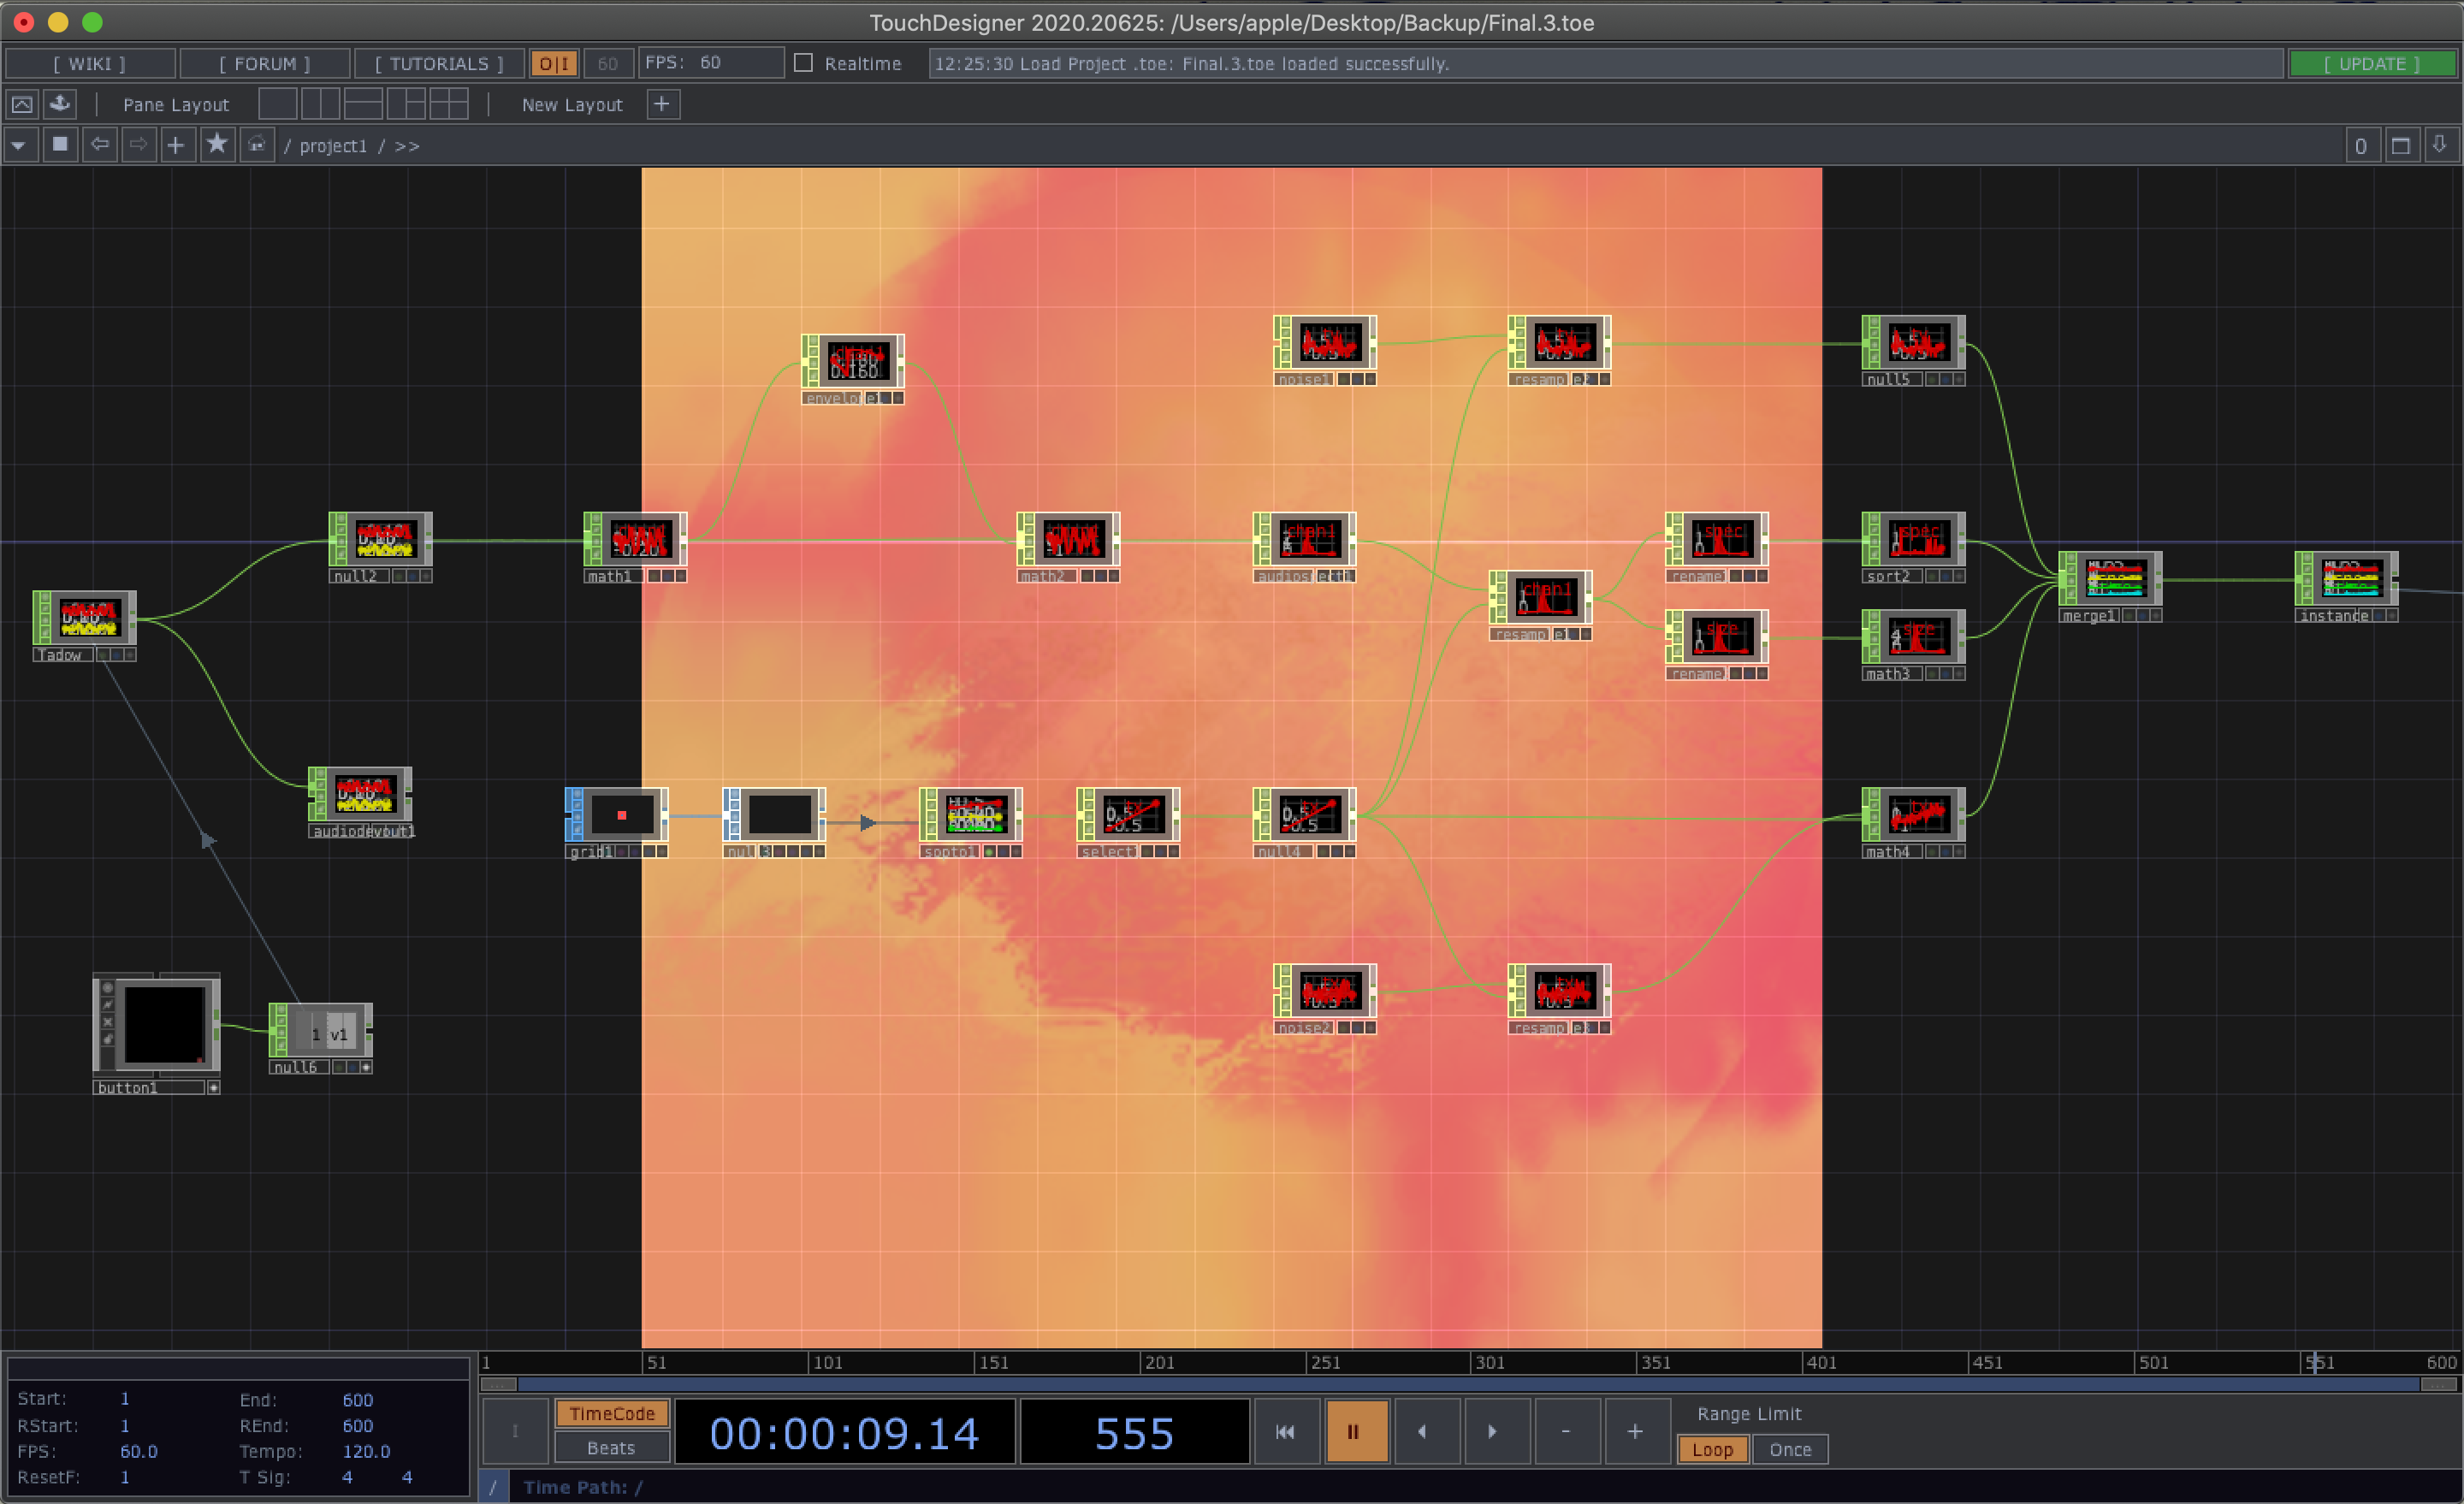
For this version, I kept working on playing around with the parameters of the Noise TOP as well as adding another one down the line replacing a previous Ramp that I had. I decided to animate the X value of the first one and the Y value of the second one. That resulted in a more dynamic noise structure that crossed eachother.
The other big change I added to it was the way my sound was being inputted into TouchDesigner. When I was using Notch, I found VoiceMeeter, which allowed me to feed in any sound that was playing on my laptop outside of Notch into it. The equivalent I found of that for Mac is called BlackHole. This program was a bit tricky to figure out but once I was able to use connect it, it worked like a charm. I had to use an Audio Device In CHOP setting it into BlackHole, as well as changing my laptop settings so my noise was coming out of BlackHole instead of my headphones.
The interesting thing about this one is that it has 16 channels. It will always use two for one piece of audio playing if I happen to have two different audios playing it will just populate the next two channels.
The resulting visual was this:
I really really liked this visual but my problem with it was that it did not look very audio-reactive even if aspects of it were being controlled by the audio. I also thought that it was a bit could become a bit too jarring if you’re looking at it.
So I kept reworking my visual and landed on this version that was not as ‘busy’ as the previous one but if I’m being honest I did not like as much as the version right before it.
I changed the camera position:

I then changed the filter size of the blur:

And finally changed the parameters of the second Noise TOP:
The visual ended up looking like this:
The biggest thing that I was not a fan of was the now very visible four-way split lines. It was not as visible in the previous version but became very obvious in this one. It remained me of a bit of the windows logo and that was not my intention.
I kept reworking it by changing. I decided to delete all the audio-reactive aspects I had to it in order to simplify it. It was getting too complicated and I did not know what aspects were getting changed. I wanted to “clean start”. Another big thing I struggled with was that my Geometry Instancing was making my computer run very slowly, to the point it wasn’t looking very fluid but more choppy. I turned it off when I deleted my audio CHOPS.


I ended up with this visual that I thought looked really aesthetically pleasing although it had no audio reactivity to it.: